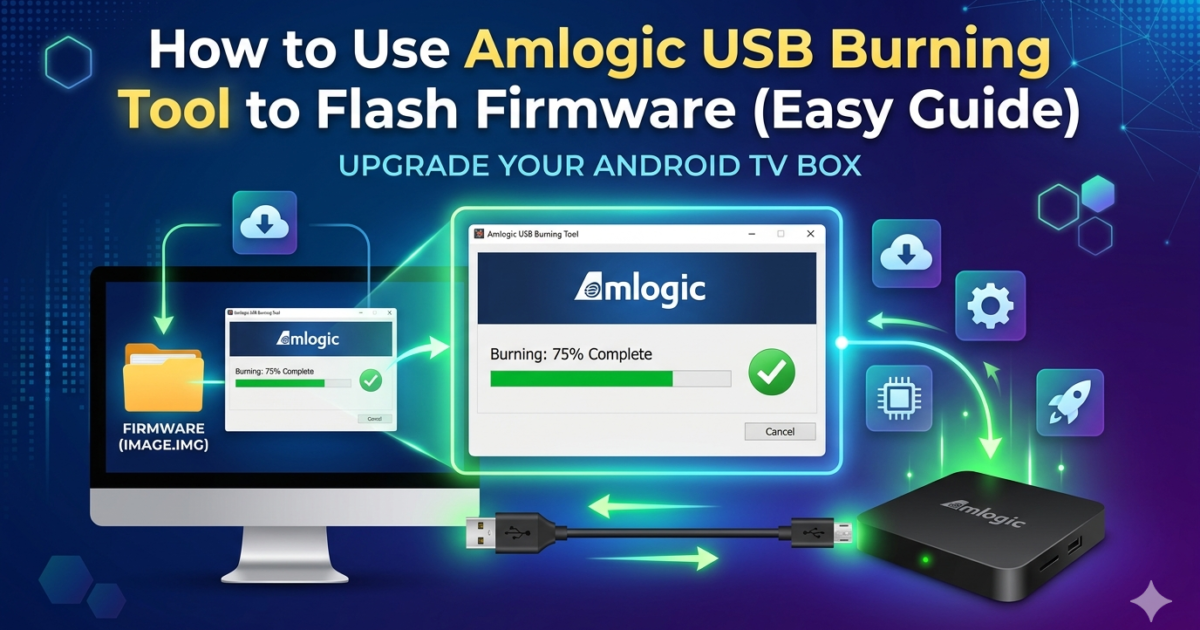
Learning how to use Amlogic USB Burning Tool is easier than most people think — and this guide proves it.
Once the tool is installed, the next step is actually using it to flash firmware onto your TV box. I did this myself on my X96 Mini and it went smoothly. This guide shows you exactly what I did, step by step.
What You Need Before You Start
Before you learn how to use Amlogic USB Burning Tool, make sure you have everything ready.
- The Amlogic USB Burning Tool installed on your PC
- Your firmware file (.img format) — I used the X96 Mini firmware
- A USB cable
- Your TV box
## How to Use Amlogic USB Burning Tool — Step by Step
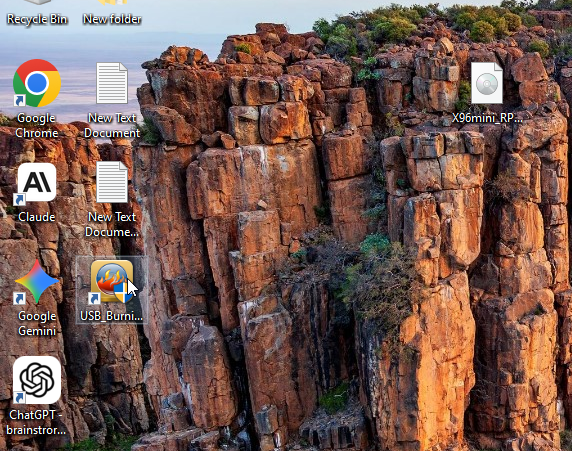
Step 1 — Open the Tool from Your Desktop
I right-clicked the USB Burning Tool shortcut on my desktop and selected “Run as administrator.” Always do this — if you open it normally it may not detect your device.
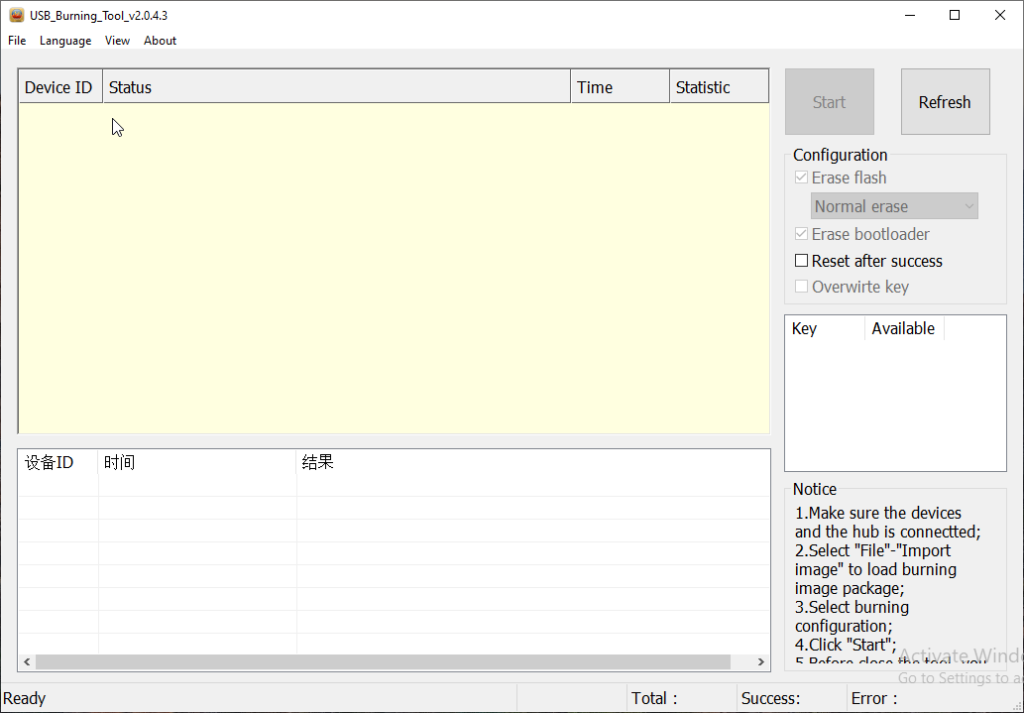
Step 2 — The Tool Opens and Shows “Ready”
When the tool launches, you will see the main interface. On the bottom left it says “Ready” — that means everything is working and it is waiting for you to load a firmware file. Do not plug in your device yet.
Step 3 — Load Your Firmware File
Go to File in the top menu, then click “Import image”. A file browser window will open. Navigate to where your firmware file is saved. In my case, the firmware file was sitting right on my Desktop — it was called X96mini_RP_20240520-1634.
Not sure which firmware to use? Check the official firmware list on Amlogic’s official page for reference.
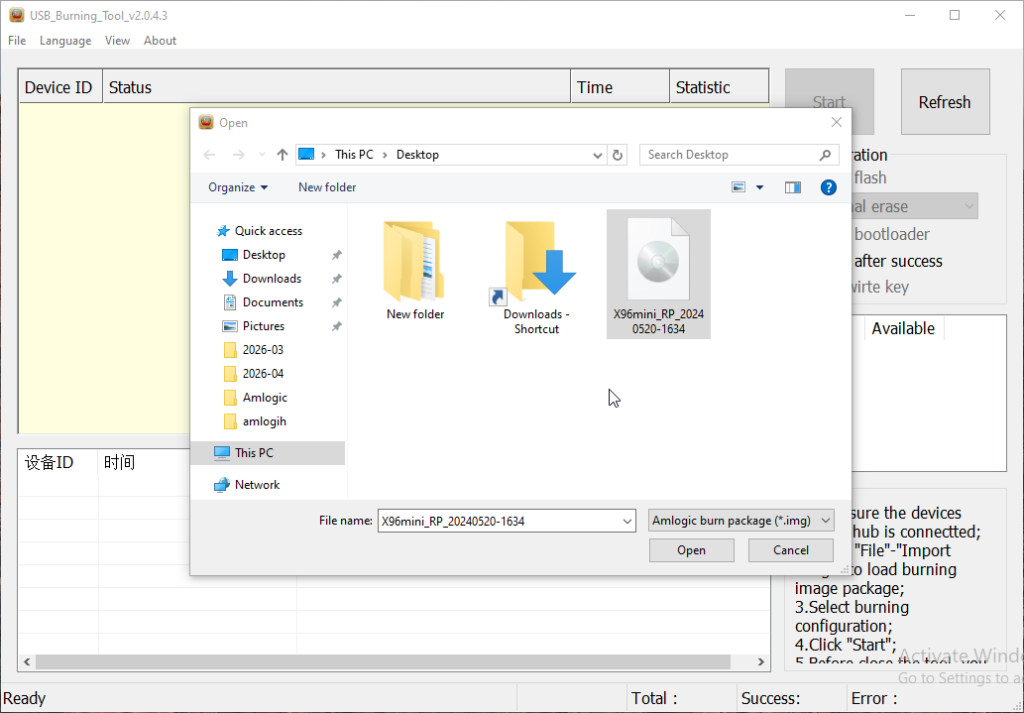
Step 4 — Select the Firmware File and Click Open
Click on your firmware file to select it. You will see the file name appear in the bottom bar of the file browser. Once it is selected, click Open.
Step 5 — Put Your TV Box Into Burning Mode
This is the part most beginners miss. Before you click Start, you need to put your TV box into USB Burning Mode. Here is how I did it on my X96 Mini:
- Unplug the box from power
- Find the reset button (usually inside the AV port or a small hole on the back)
- Hold the reset button down
- While holding it, plug the USB cable into the PC
- Keep holding for 3–5 seconds then release
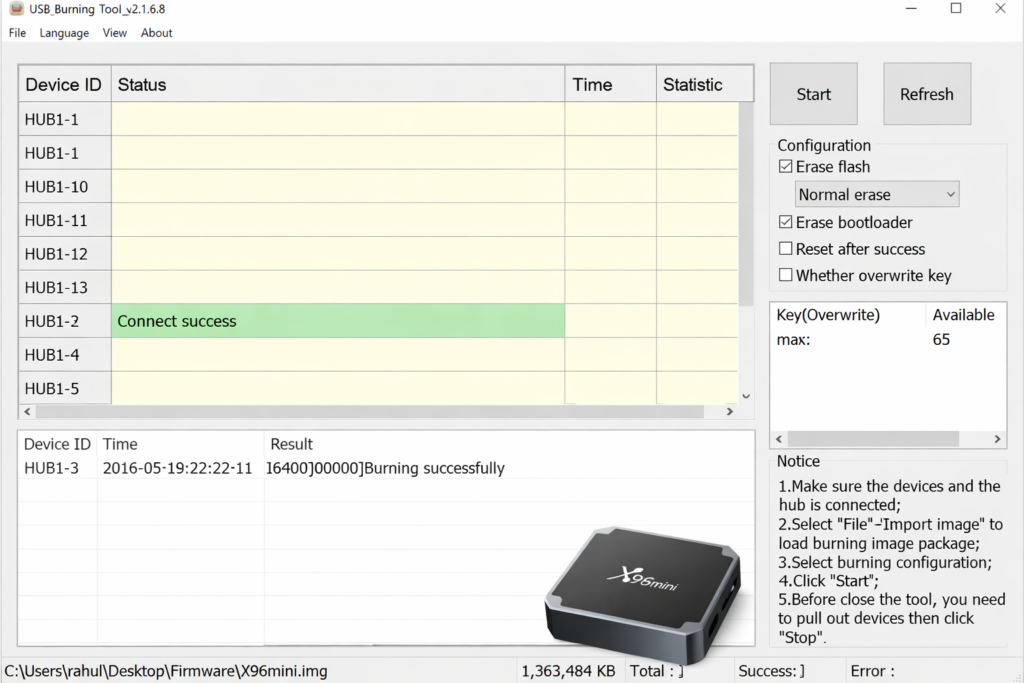
If done correctly, the tool will detect your device automatically and show it in the Device ID column.
Step 6 — Check the Configuration Settings
On the right side of the tool you will see the Configuration panel. I left the settings as default:
- Erase flash — checked
- Normal erase — selected
- Erase bootloader — checked
- Reset after success — I left this unchecked

Do not change these unless you know what you are doing. The default settings work fine for a standard firmware flash.
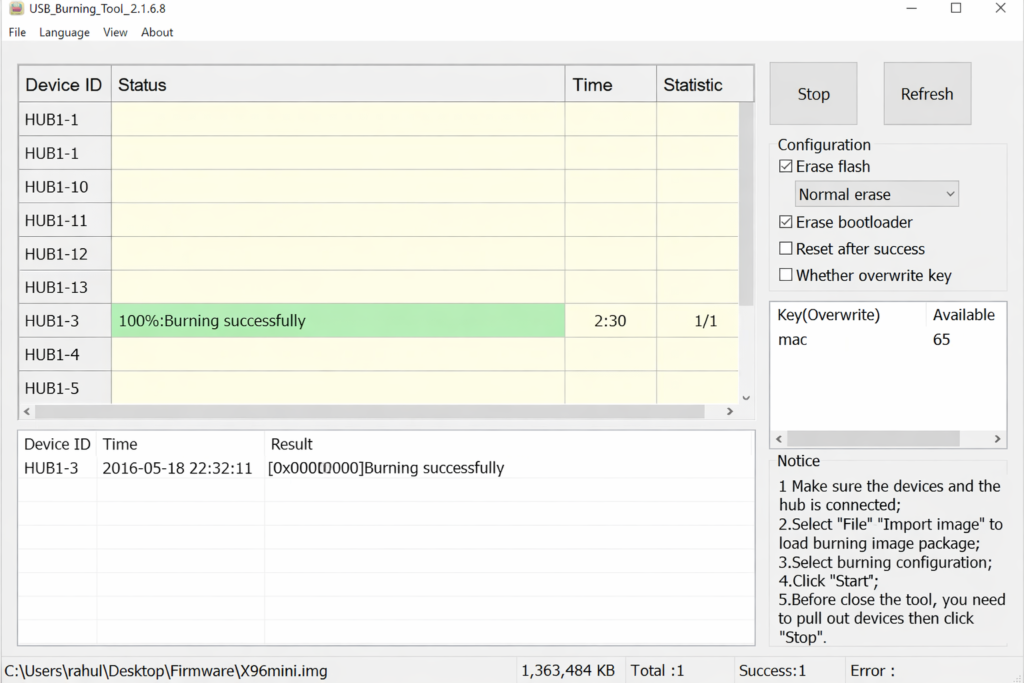
Step 7 — Click Start
Once your device is detected and the firmware is loaded, the Start button on the top right will become active. Click it. The flashing process will begin immediately. You will see the progress bar moving and the status updating in real time.
Do not unplug the cable during this process. Just leave it running — it usually takes 3 to 8 minutes depending on the firmware size.
Step 8 — Wait for Success
When the flash is complete, the status will change to show a success message. The box will reboot on its own. At this point you can unplug the USB cable and let the device finish booting up. First boot after a firmware flash usually takes a bit longer than normal — that is completely fine.
Quick Tips From My Experience
Here are a few things I picked up from using the Amlogic USB Burning Tool that will save you time.
Device not detected after connecting? Hold the reset button a little longer before plugging in the USB. The timing takes a bit of practice.
Flash fails halfway through? Try a different USB cable. A bad cable is responsible for more failed flashes than anything else.
Wrong firmware flashed? Always double-check the firmware filename before clicking Start. The file name usually contains the device model and chipset — make sure it matches your box exactly.
Tool freezes during flash? Close everything, reopen the tool as administrator, and start again from Step 3.
Final Word
Using the Amlogic USB Burning Tool is not complicated once you understand the flow. Load the firmware, put the box in burning mode, hit Start, and wait. I flashed my X96 Mini in about 5 minutes and it came back to life like a brand new device. If you follow each step carefully you should have no issues at all.
If you are still unsure about how to use Amlogic USB Burning Tool, just go through the steps one more time slowly — it clicks fast once you do it hands-on.
You can grab the correct firmware for your device from our firmware download page.
📌 Related Guides
Amlogic: The Chipset Powering Most Android TV Boxes
Introduction: Why Your TV Box’s Chip Matters More Than You Think Ever wondered why two Android TV boxes…
How to Install Amlogic USB Burning Tool on PC (Step-by-Step Guide)
If your Android TV box is stuck, bricked, or you just want to flash a fresh firmware, the…
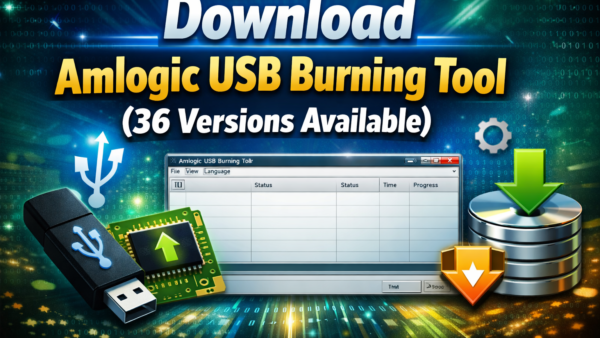
Download Amlogic USB Burning Tool (36 Versions Available)
If you are looking for the Amlogic USB Burning Tool download, you are in the right place.there is…