If your Android TV box is stuck, bricked, or you just want to flash a fresh firmware, the first thing you need to do is install the Amlogic USB Burning Tool on your PC. I went through the whole process myself and documented every step with screenshots, so just follow along and you will be done in a few minutes.
What You Need
Before you start, make sure you have:
- A Windows PC
- A USB cable
- The Amlogic USB Burning Tool ZIP file
That is it. Nothing complicated.
Step-by-Step Installation
Step 1 — Download the Tool
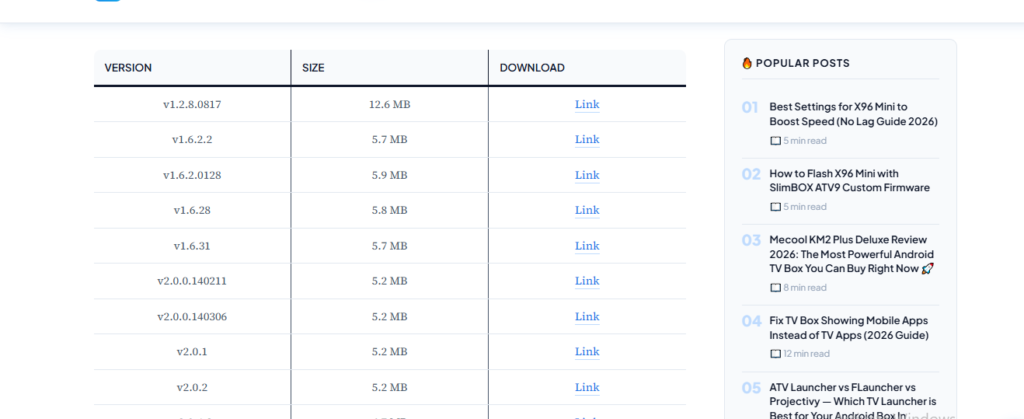
Go to Download Amlogic USB Burning Tool (36 Versions Available) and pick your version. I recommend starting with the latest one (v3.3.4) if you are not sure which to choose. The file will land in your Downloads folder as a ZIP archive.
Step 2 — Open the ZIP File
Once it is downloaded, open the ZIP. You will see a warning pop up from Windows saying something like “This application may depend on other compressed files.” Do not click Run. Click “Extract All” instead. I made this mistake the first time — always extract first.

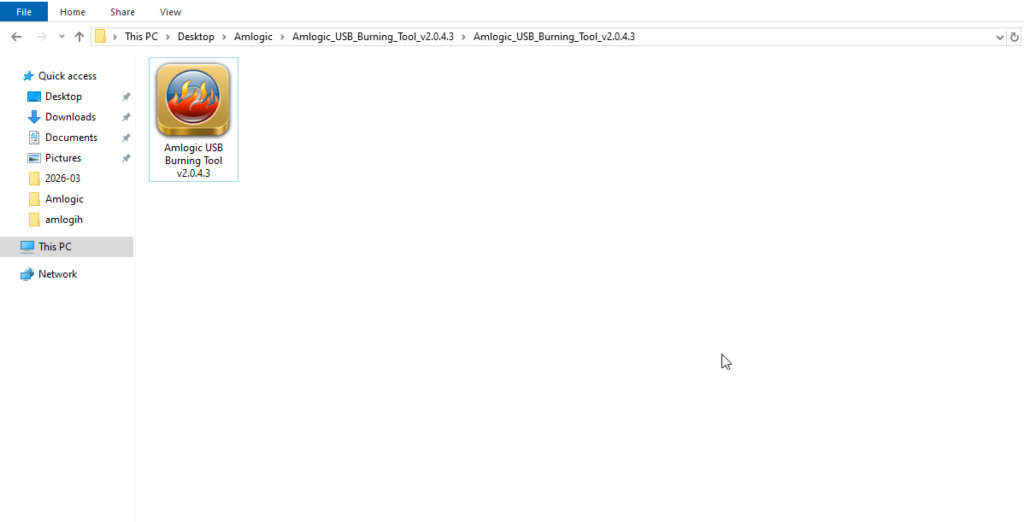
Step 3 — Open the Extracted Folder
After extraction is done, open the new folder. You will find the setup file inside — it has the Amlogic flame icon. Double-click it to start the installation.
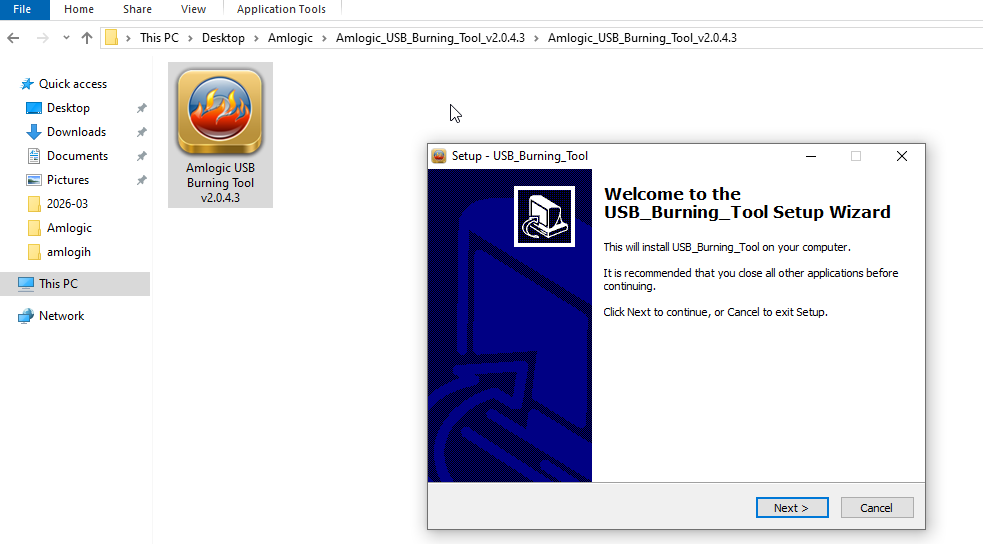
Step 4 — Welcome Screen
A setup wizard will open. It just says “Welcome to the USB Burning Tool Setup Wizard.” Nothing to do here — just click Next to continue.
Step 5 — Choose Where to Install It
The installer will ask where to put the tool on your PC. The default path is C:\Program Files (x86)\Amlogic\USB_Burning_Tool. I left it as is — no reason to change it. Click Next.

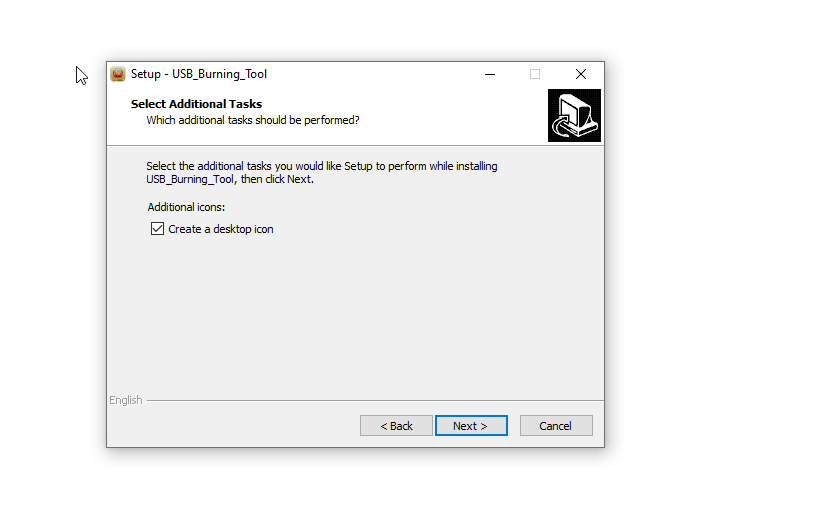
Step 6 — Create a Desktop Shortcut
Next screen asks about additional tasks. The “Create a desktop icon” box is already ticked. Leave it checked — you will want that shortcut later. Click Next.
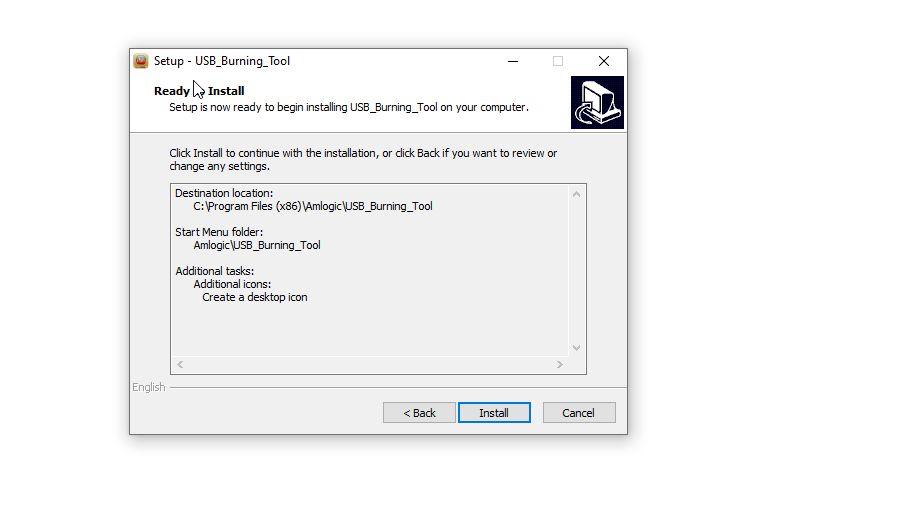
Step 7 — Ready to Install
The installer shows you a quick summary of everything before it starts. Looks good — just click Install and let it run.
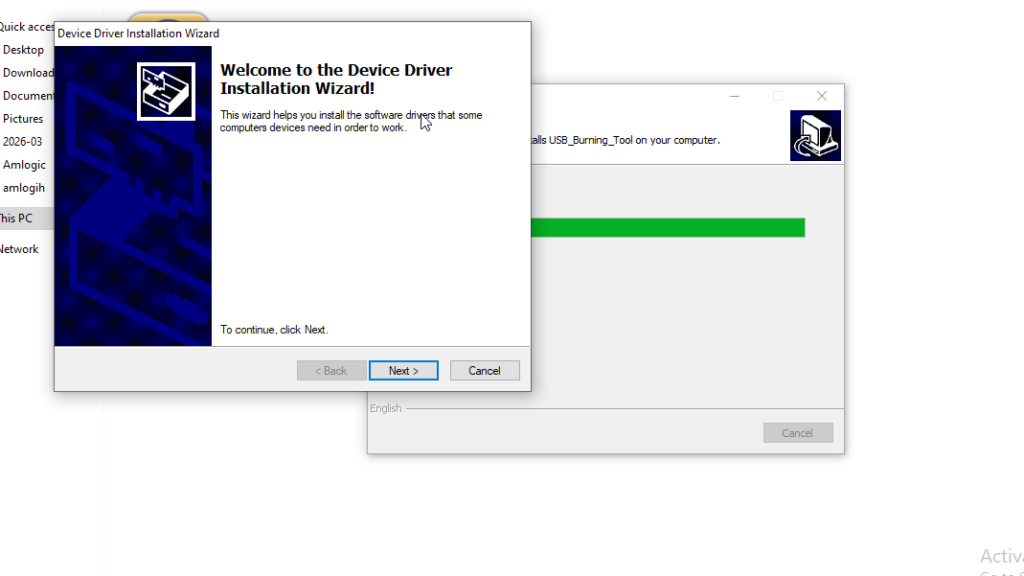
Step 8 — Driver Installation Wizard Pops Up
While the main installer is running, a second window will appear — the Device Driver Installation Wizard. This is normal. It installs the USB drivers your PC needs to talk to your TV box. Click Next and let it do its thing.
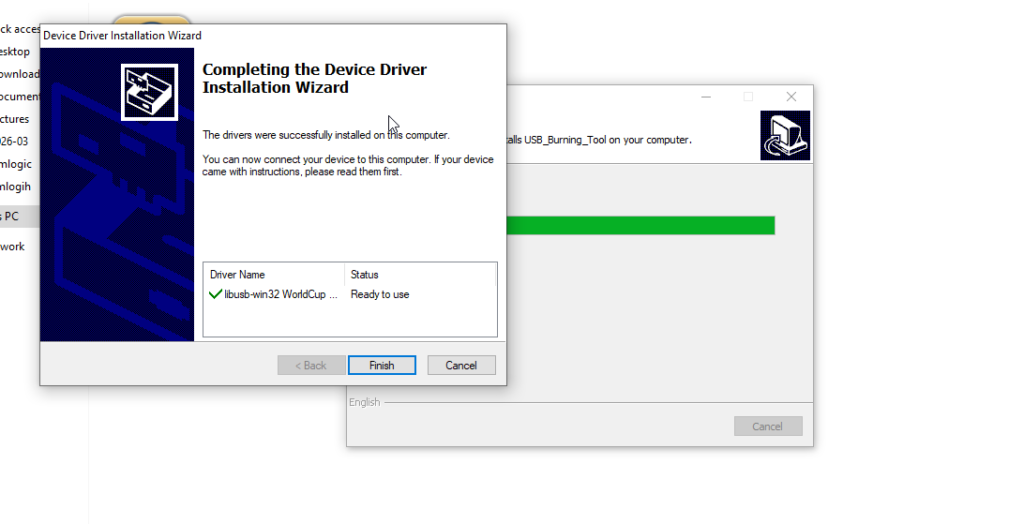
Step 9 — Drivers Installed Successfully
After a few seconds, you will see a confirmation screen. It will show “libusb-win32 WorldCup” with a green checkmark and status “Ready to use.” That means the drivers are in. Click Finish.
Step 10 — Installation Complete
The main installer finishes up in the background. Once it is done, check your desktop — you should see the USB Burning Tool shortcut sitting there. I double-clicked mine to make sure it opened correctly.

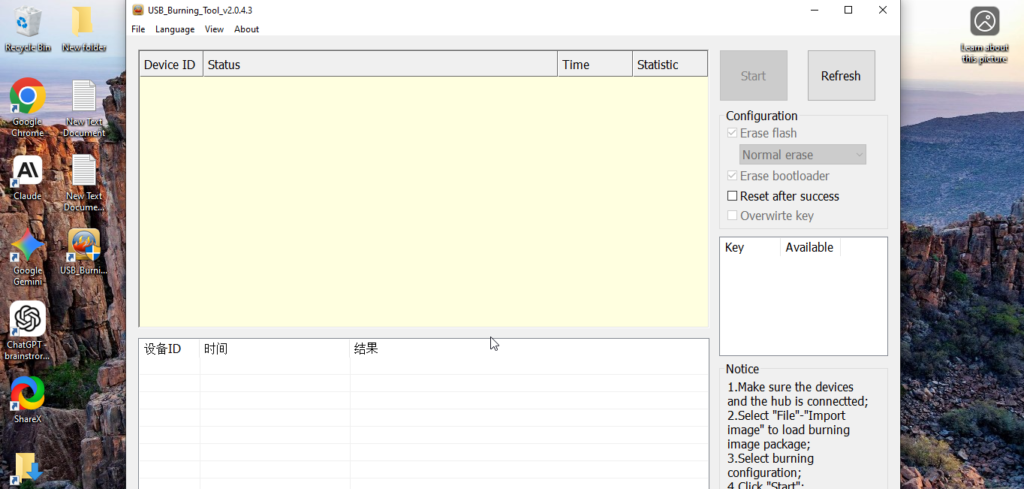
Step 11 — Tool is Open and Ready
When you open it, you will see the main interface. At the bottom it says “Ready” — that is what you want to see. The tool is installed, the drivers are working, and you are good to go.
Common Issues and Quick Fixes
Driver not installing Right-click the setup file and choose “Run as administrator.” That fixed it for me on the first try.
Tool opens but does not detect the device Try a different USB cable and plug directly into the PC — no hubs. Also make sure you are running the tool as administrator.
Windows SmartScreen blocking the installer Click “More info” then “Run anyway.” This is normal for tools like this one. As long as you downloaded from a trusted source, you are fine.
Antivirus deleting the file Add the folder to your antivirus exceptions, then re-download. Some programs flag burning tools as suspicious even when they are completely clean.
A Few Tips Before You Start Flashing
Always run the tool as administrator — right-click the shortcut and select “Run as administrator” every time. If you are on Windows 11 and having driver issues, try an older version like v2.2.4 which tends to have better compatibility. And make sure the firmware file you are loading matches your device — wrong firmware on the wrong box is the most common mistake beginners make.
📌 Related Guides
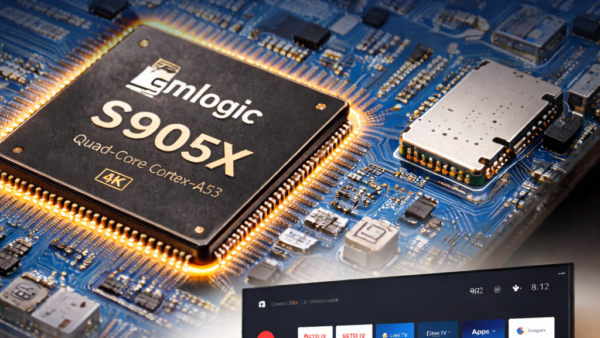
Amlogic: The Chipset Powering Most Android TV Boxes
Introduction: Why Your TV Box’s Chip Matters More Than You Think Ever wondered why two Android TV boxes…
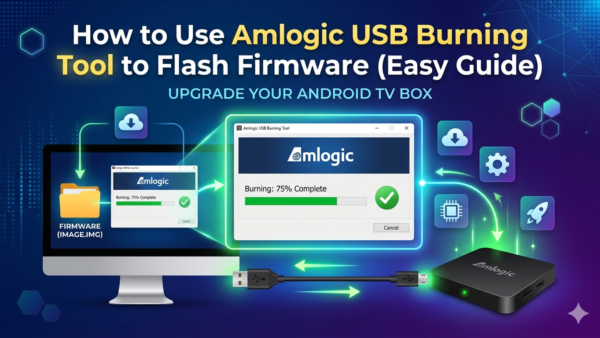
How to Use Amlogic USB Burning Tool to Flash Firmware (Ultimate Guide)
Learning how to use Amlogic USB Burning Tool is easier than most people think — and this guide…
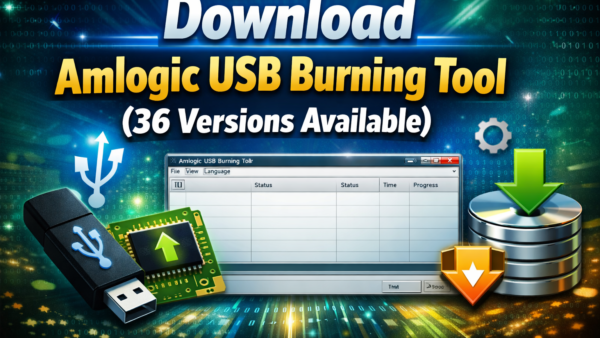
Download Amlogic USB Burning Tool (36 Versions Available)
If you are looking for the Amlogic USB Burning Tool download, you are in the right place.there is…